Digital Life

Changing Phones Soon? Check That Your Android Photos Are Really Backed Up First

Published July 29, 2026

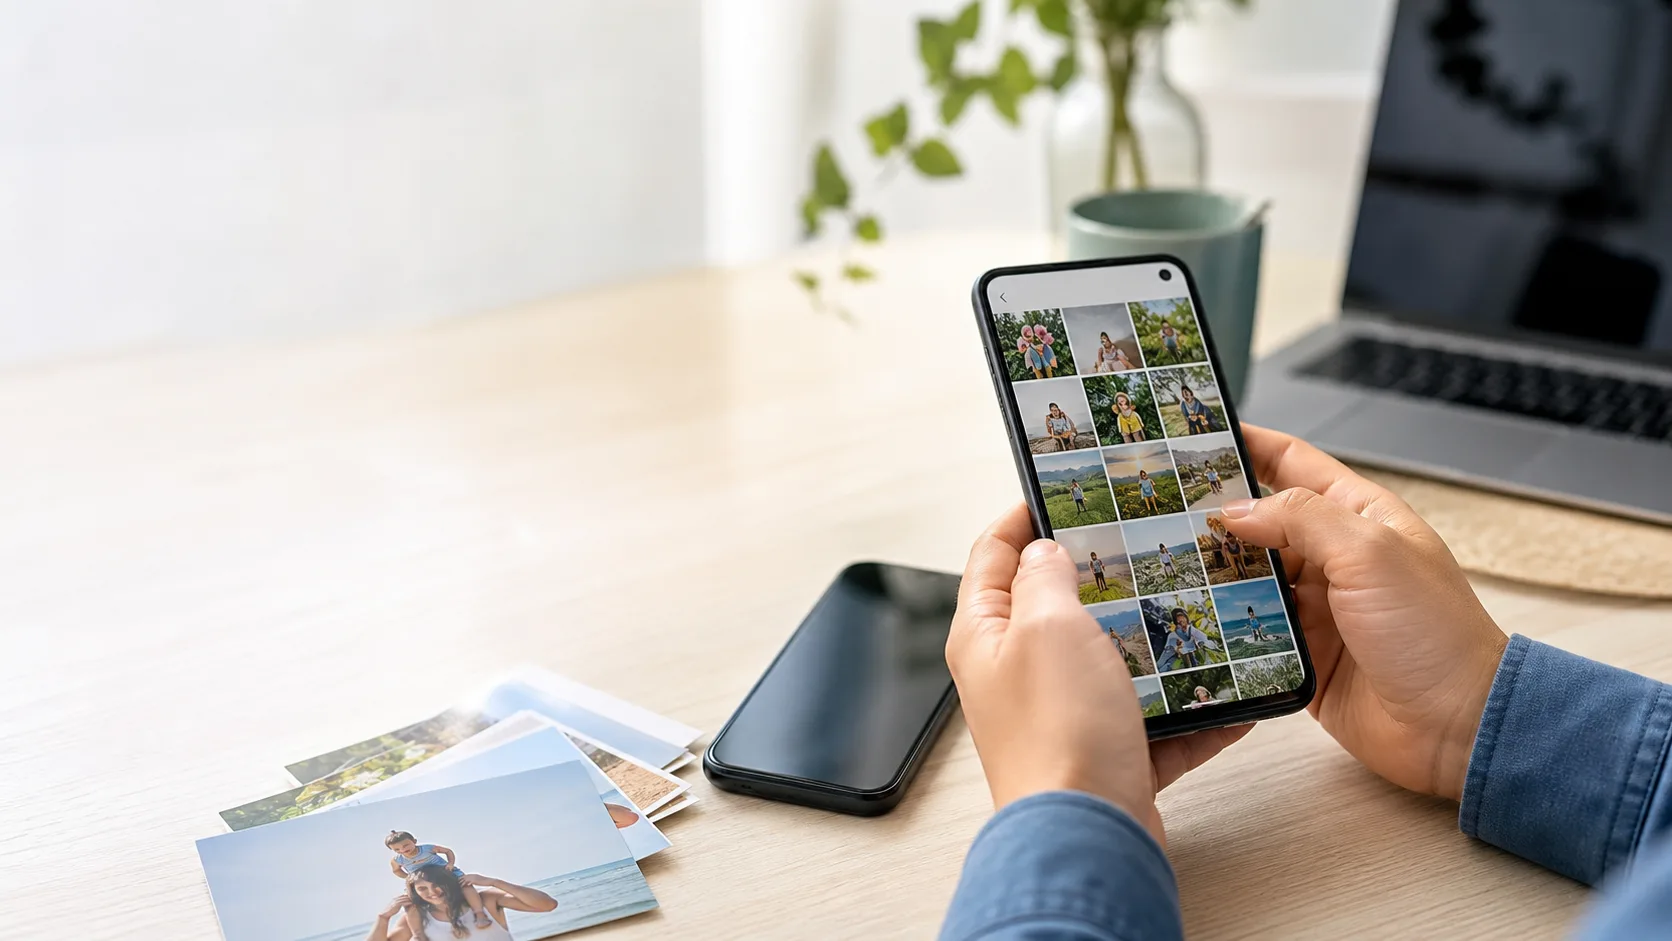
Person checking a photo library on an Android phone beside an older phone before switching devices

To confirm Google Photos backup before changing an Android phone, open Google Photos, tap your profile picture, and check the backup status at the top. Then open Photos settings > Backup to confirm the Google Account, backup setting, and device folders. Wait for a completion message, check a few recent pictures at photos.google.com, and keep the old phone until the new phone displays your library. Backup being turned on is not the same as every recent photo being safely uploaded.

Check the backup status in Google Photos

Start on the Android phone that currently holds your photos. Open the Google Photos app and tap your profile picture or initial in the upper-right corner. The app normally shows a short status message there, such as a backup in progress, items remaining, or backup complete.

If it says backup is still running, leave the phone on a reliable Wi-Fi connection and power source when possible. A large library, weak connection, battery-saving setting, or limited cloud storage can slow or pause the process. Do not judge success by the presence of the Backup toggle alone; wait until the app reports that it has finished.

Google’s Android backup help explains where to find the current status and how photo backup works. App wording can vary a little by Android version and Google Photos release, but the profile menu is the quickest place to see whether work remains.

Confirm the right Google Account and backup setting

From the profile menu, choose Photos settings, then Backup. First, make sure Backup is on. Next, look at the Google Account shown on that screen. It should be the account you plan to use on the new phone—not an old work account, a family member’s account, or a secondary address you rarely open.

This is worth a deliberate pause. Many people have more than one Google Account on a phone, and a photo library can be backed up to a different account than expected. If you are unsure, open the account selector in Google Photos and compare the photo library in each account before making any changes.

Also check the storage information. Google Photos needs available storage in the account for new uploads. If storage is full, new photos and videos may stop backing up until you free space or add storage. The Google Photos backup guide has the current steps for reviewing backup and storage.

Review the device folders that matter to you

Your main camera roll is usually included, but other folders may need separate attention. In Google Photos, open Photos settings > Backup > Back up device folders and look for folders that hold pictures you actually want to keep. Depending on your apps, these might include Screenshots, Downloads, Messages, or folders created by a camera or editing app.

You do not need to back up every image automatically. Memes, temporary downloads, and duplicate app images can make a library harder to manage. The useful question is: “Would I be upset if this folder disappeared with the old phone?” If yes, turn backup on for that folder and wait for the app to finish again.

For a quick reality check, find a very recent photo from each important folder. Open it in Google Photos and make sure it appears in the cloud library rather than only in a local file manager. A short delay after taking a photo can be normal, especially on cellular data, so give the phone time before you begin the transfer.

Verify from a second screen before you switch

The most reassuring test is to view your library somewhere other than the old phone. On a computer or another device, sign in to photos.google.com with the same Google Account. Look for several recent photos and at least one recent video. Try a photo from the camera, a screenshot if you chose to back up that folder, and an older favorite.

This test catches two common mix-ups: backing up to the wrong Google Account and assuming an upload finished when it did not. It also gives you a cleaner view of whether the dates and thumbnails look right. If a recent item is missing, return to the old phone, check its backup status, Wi-Fi connection, storage, and device-folder selection rather than deleting or resetting anything.

If you are also moving your Google sign-in methods, do the account work before you retire the old device. Our guide to securing your Google Account before changing phones covers recovery options, signed-in devices, and 2-Step Verification. It complements photo backup; neither step replaces the other.

Use this pre-switch checklist

Before you trade in, factory-reset, sell, or give away the old Android phone, run through this short list:

  • Google Photos shows that backup is complete or no items remain.
  • The Google Account in Backup settings is the one you expect.
  • Important device folders have backup enabled and their recent items appear in Google Photos.
  • Your Google Account has enough storage for the newest uploads.
  • A few recent photos and a video appear at photos.google.com on another device.
  • The new phone is signed in to the same account and shows the library.

Keep the old phone intact until every item on that list is true. That does not mean you need to keep it forever; it means giving yourself a simple recovery path while you test the new setup. If the new phone does not display a photo right away, check that it is using the same Google Account and give the app time to refresh before assuming anything is gone.

Do not delete local copies just because backup is enabled

Google Photos has tools that can remove local copies after they are backed up, but a phone change is the wrong moment to rush that decision. First verify your library from the web and the new phone. Then, if you want to reclaim space, read the in-app wording carefully and make sure you understand whether you are removing only files stored on the device or changing something in your cloud library.

The same principle applies to the old phone itself: do not erase it immediately after signing in on the new one. Test the photos you care about, contacts, messages, and any authentication apps first. Once you have confirmed the move and completed the manufacturer’s trade-in or reset steps, you can retire the device with much more confidence.

For people who prefer a written plan, you can also dictate this checklist and turn it into tasks. Our article on using ChatGPT Voice for an action plan explains a privacy-conscious way to do that; avoid reading private recovery codes or sensitive photos aloud.

If backup seems stuck

If Google Photos keeps showing items remaining for a long time, begin with the simple checks: connect to stable Wi-Fi, plug the phone in, confirm that Backup is on, and see whether Google Account storage is available. Then open the remaining items if the app identifies them; unusually large videos or files in an excluded folder can be the reason progress looks stalled.

Do not delete missing-looking photos from the old phone to “force” a sync. Keep the originals while you troubleshoot. Google’s support pages above are the best source for the current screens and troubleshooting steps, since Android and Google Photos menus can change. A careful verification now is much easier than trying to reconstruct a library after the old phone has been wiped.