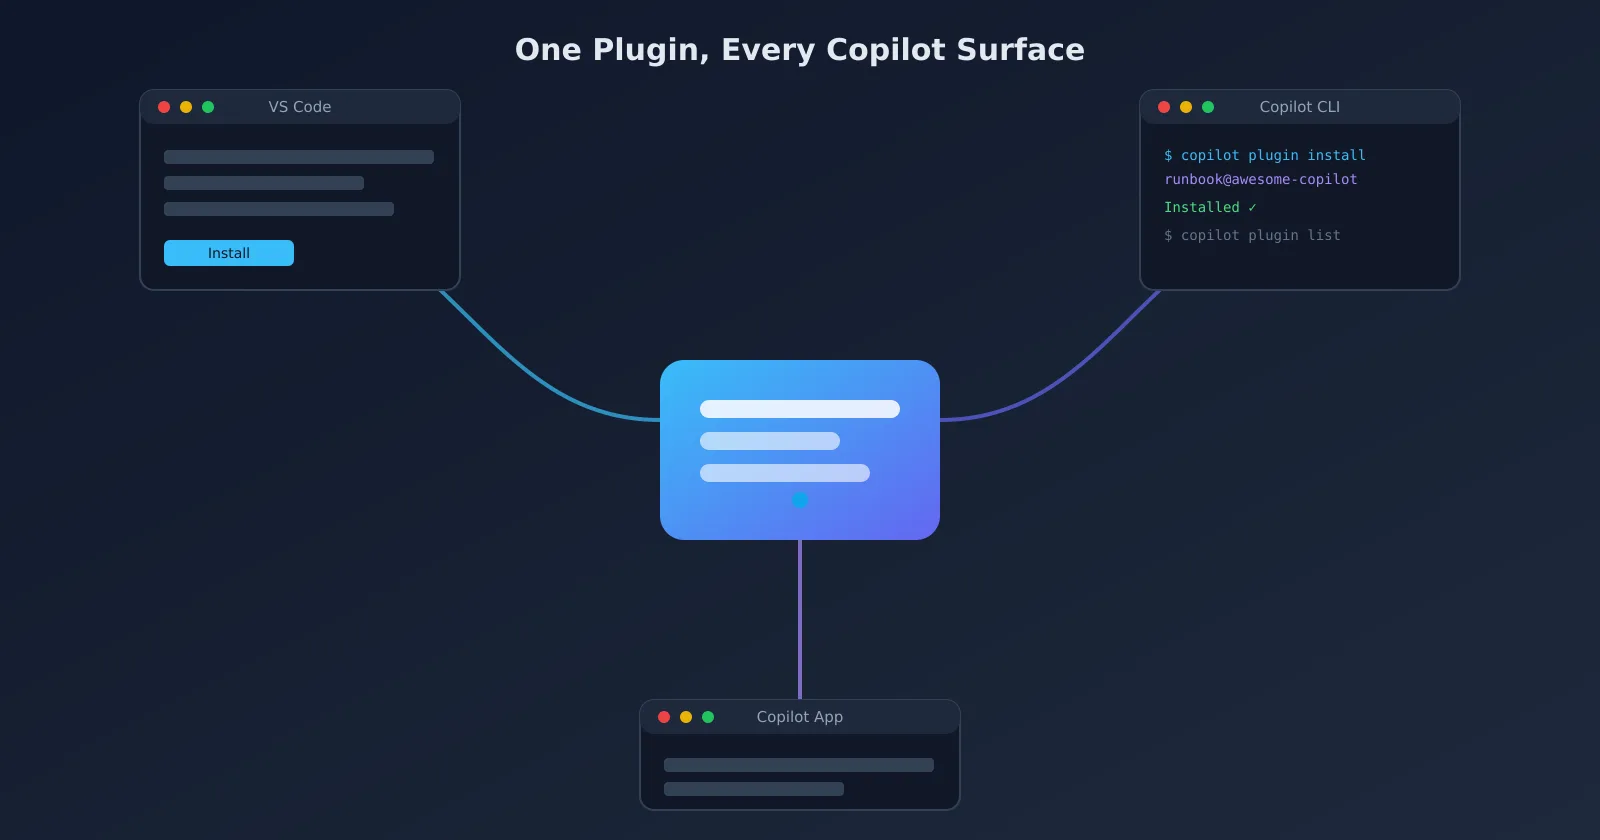
GitHub's new Agent Plugins 1.0, generally available since August 12, 2026, is an open format that packages an AI coding skill and its MCP server together so you install it once and use it in VS Code, GitHub Copilot CLI, the Copilot app, or the Copilot SDK, instead of setting it up separately in each. In VS Code, open the Extensions view and search @agentPlugins; in Copilot CLI, run copilot plugin install PLUGIN-NAME@MARKETPLACE-NAME. Your existing Copilot plugins, custom instructions, and prompt files keep working with no migration required.
What Agent Plugins 1.0 actually changed
Before this update, a Copilot skill or MCP server that worked in VS Code often needed a separate manifest and folder layout to also work in the CLI or another AI tool, even when the underlying functionality was identical. GitHub published the Agent Plugins 1.0 spec on August 6, 2026, together with AWS, Anysphere, Microsoft, OpenAI, and Vercel, with Google joining as a core maintainer the same day. It defines one plugin format that bundles a skill with its MCP server — for example, a deployment runbook alongside the tool integration it needs — so both install and update together everywhere the standard is supported.
Only two pieces are treated as fully portable across tools: skills and MCP servers. Everything else a plugin might include, such as custom personas, hooks, or slash commands, lives inside a namespaced folder (like com.github.copilot/) that other AI tools simply ignore. Support went generally available on August 12, 2026, in VS Code, Copilot CLI, the Copilot SDK, and the Copilot app, on all Copilot plans — GitHub's changelog does not require a paid tier for this feature.
Installing a plugin in VS Code
- Open the Extensions view (
Ctrl+Shift+Xon Windows/Linux,⇧⌘Xon Mac). - Type
@agentPluginsin the search field, or click the three-dot More Actions menu in the Extensions sidebar and choose Views > Agent Plugins. - Browse plugins from the marketplaces VS Code enables by default — GitHub's own
copilot-pluginscatalog and the community-runawesome-copilotmarketplace. - Click Install on the plugin you want.
If it's your first install from a given marketplace, VS Code shows a one-time trust prompt asking you to confirm the source before the plugin runs. To install something that isn't listed in a marketplace at all, run Chat: Install Plugin From Source from the Command Palette and paste the plugin's Git repository URL instead.
If the Agent Plugins view doesn't appear, check that the chat.plugins.enabled setting is turned on — that's the first thing to verify before assuming something is broken. To manage what's already installed, open the Chat view's gear icon and select Plugins, where you can enable or disable a plugin per workspace or uninstall it entirely.
Installing a plugin in Copilot CLI
Copilot CLI uses its own set of commands rather than the VS Code UI:
copilot plugin marketplace browse MARKETPLACE-NAME— list what's available in a registered marketplace.copilot plugin marketplace add OWNER/REPO— register a new marketplace source, including one hosted in a plain GitHub repo.copilot plugin install PLUGIN-NAME@MARKETPLACE-NAME— install a specific plugin.copilot plugin list— see what you already have installed.copilot plugin uninstall PLUGIN-NAME— remove one.
A convenient side effect: VS Code automatically detects plugins you install through Copilot CLI, since both read from the same ~/.copilot/installed-plugins/ folder on disk. Install a plugin once from the CLI and it shows up in VS Code's Agent Plugins - Installed view without a second install step.
Does your existing Copilot setup still work?
Yes. GitHub's own changelog states plainly that "existing GitHub Copilot plugins that don't target Agent Plugins 1.0 remain supported, with no migration required," and VS Code continues to read the older Copilot, Claude, and legacy OpenPlugin plugin formats using their original discovery rules. Locally defined customizations, like your own custom instructions and prompt files, aren't replaced by anything a plugin installs — a plugin's skills simply appear in chat alongside what you already had set up.
The security detail worth knowing before you install
Here's the tested nuance that's easy to miss: when you install a plugin through VS Code that bundles an MCP server, that server is trusted automatically at install time. It does not get the separate startup trust prompt that a workspace-level MCP server normally triggers. In practice, that means clicking Install on a plugin is the moment you're extending trust to everything it bundles, not a later step — so treat the marketplace trust prompt as your real checkpoint, and stick to GitHub's own copilot-plugins catalog or well-known repositories in awesome-copilot rather than installing from an unfamiliar Git URL you haven't reviewed.
A second rough edge: if a plugin's SKILL.md file has an invalid name field (anything other than plain kebab-case, like test-runner), VS Code silently skips loading that skill with no error message. If a plugin you installed doesn't seem to be doing anything, that silent-skip behavior — not a broken install — is often the actual cause; check the plugin's skill file naming before reinstalling.
Why this matters if you use more than one AI coding tool
If you already split time between VS Code, Copilot CLI, and other AI tools, Agent Plugins 1.0 mainly saves you from re-solving the same setup problem in each one. It won't retroactively fix plugins that were never ported to the new format, and it doesn't consolidate every kind of customization — only skills and MCP servers travel across tools cleanly, so things like custom personas or hooks stay client-specific by design.
Once you're managing more AI-assisted workflows in your editor, it's worth tightening the rest of your GitHub setup around them. Our guide on requiring a pull request review before merging covers the guardrail that matters most once an AI agent can open changes on your behalf, and our walkthrough of letting Dependabot open safe update pull requests pairs well with any new tool you add to your dependency chain.
Official sources
- GitHub Changelog: Agent Plugins 1.0 in VS Code, Copilot CLI, and the Copilot app
- Visual Studio Code Docs: Agent Plugins