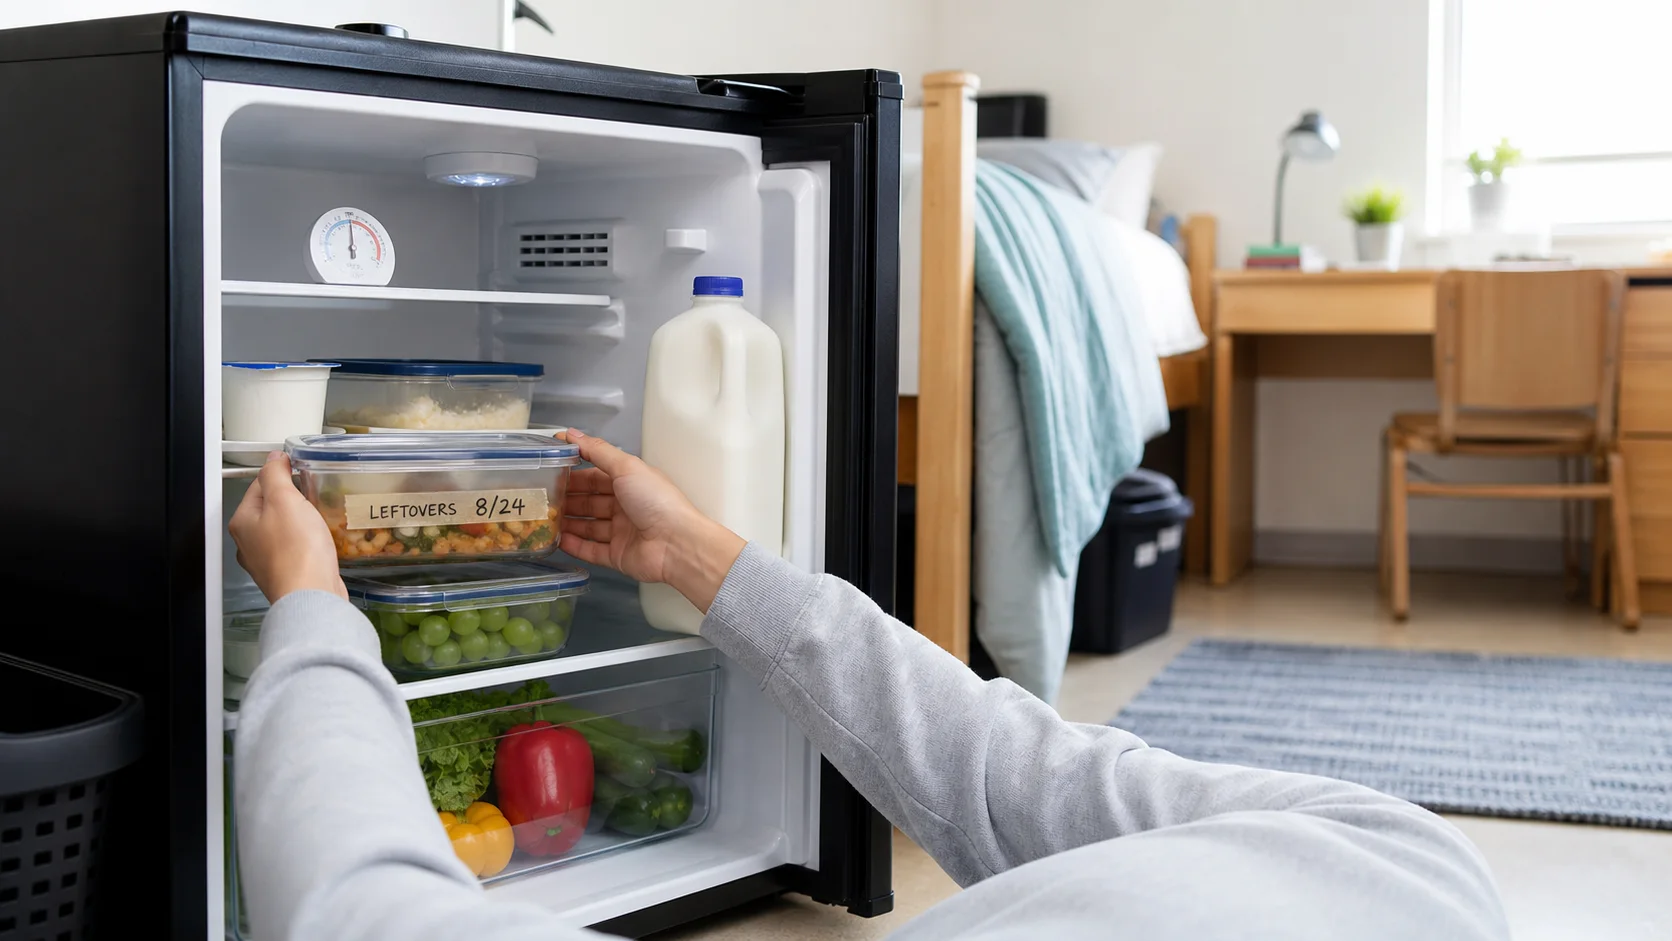
To use a dorm mini fridge safely, first follow your campus housing rules and the appliance manual, then keep the fridge at 40°F or below with an appliance thermometer. Leave room for cold air to circulate, put perishable foods away promptly, label leftovers with the date, and know what to discard after a power interruption. A small fridge can work well for campus life, but it needs a little more attention than a full kitchen refrigerator.
Check campus rules and set up the appliance first
Before buying, borrowing, or plugging in a mini fridge, read the residence-hall rules. Colleges may limit appliance size, electrical use, placement, or whether a refrigerator is supplied. Those rules come first; do not alter a school-provided unit or run extension cords in a way housing staff does not allow.
At move-in, place the fridge where the manual says it can vent properly. Keep its air openings clear and leave the recommended space around the sides and back. A tightly boxed-in refrigerator has to work harder to remove heat and may not hold a steady temperature. Plug it directly into an approved wall outlet, level it if the manual requires it, and give it time to cool before stocking it.
Put a small appliance thermometer inside rather than relying only on the dial. The U.S. Department of Agriculture (USDA) advises keeping refrigerators at 40°F or below; the temperature “danger zone” where bacteria can grow quickly is 40°F to 140°F (USDA food safety basics). Check the thermometer after the fridge has been running and again after you load it. If it does not stay cold enough, ask housing maintenance or the manufacturer for help instead of assuming the dial’s number is a temperature.
Stock it for airflow, not maximum capacity
A mini fridge fills up fast, especially during the first week when roommates are bringing snacks and drinks. Resist packing every shelf edge to edge. Cold air needs a path around food and through interior vents. Do not block a vent with a carton, takeout box, or a large container; that can create warmer pockets even if the thermometer looks fine.
Choose a few small, stackable containers instead of one oversized container that fills a shelf. Keep foods covered to prevent drips and odors. Ready-to-eat foods and leftovers belong above items that could drip, and raw meat, poultry, seafood, or eggs should be sealed securely and kept separate from foods that will be eaten without more cooking. If a dorm fridge has a tiny freezer compartment, treat its capacity and temperature as appliance-specific; the manual is the right source for what it can safely freeze.
The door is usually the warmest part because it is opened often. It is a useful place for drinks and condiments, but avoid treating it as the best location for your most temperature-sensitive food. The simple goal is consistency: a clear shelf, a working thermometer, and no food pressed against vents or crammed into the door.
For another move-in task that is easier before classes begin, see this back-to-school budget checklist for supplies and fees. Planning meals and a small food-storage budget alongside those expenses can prevent an overstuffed first grocery run.
Make leftovers easy to identify and use
Put leftovers in shallow, covered containers so they cool more quickly, and refrigerate them promptly. Do not leave perishable takeout, cooked food, dairy, or cut produce on a desk while you unpack for hours. If you are unsure whether an item has sat out too long, it is safer to discard it than to taste it as a test; smell and appearance cannot reliably show whether harmful bacteria are present.
Use a strip of tape or a washable label to write the date on leftovers. That tiny habit answers the most common dorm-fridge question: “Whose is this, and when was it made?” It also makes cleanup less awkward when roommates share space. Give each person a shelf, bin, or labeled section when possible, and agree that food is not shared unless the owner says so.
Build one weekly reset into your routine. Take out expired or questionable items, wipe visible spills with hot, soapy water, dry the surface, and check the thermometer. A clean fridge does not replace safe temperature control, but removing spills and old food makes it easier to spot problems early. Wash hands before handling food, too. If a student manages medication that needs refrigeration, the prescribing clinician or pharmacist and campus health office should provide the relevant storage guidance; this general food checklist is not a substitute.
Know the plan for an outage or an unplugged fridge
Power interruptions happen in residence halls, and a mini fridge can be unplugged accidentally during cleaning, maintenance, or a room change. Keep the door closed as much as possible. According to FoodSafety.gov, an unopened refrigerator will keep food cold for about four hours during an outage; after that, perishable refrigerated food should be discarded unless it can be confirmed to have stayed at 40°F or below (FoodSafety.gov power-outage chart).
Do not guess based on how cold a container feels. If there was a long outage, follow the federal chart for the specific food and when in doubt throw it out. A cooler with ice can be a temporary option only if it keeps food cold enough, and campus staff may have instructions during a building-wide interruption. Never taste food to decide whether it is safe.
It helps to keep a short note in your phone: the fridge’s normal thermometer reading, the housing maintenance number, and the time the power went out. That gives you useful information if you need to decide what to keep or report a broken appliance. For a separate household planning task, keep school health forms and medication information organized before the semester gets busy.
Five minutes each week keeps the system working
Once the mini fridge is set up, the maintenance routine is simple:
- Check that the thermometer reads 40°F or below.
- Clear packages away from interior vents.
- Date new leftovers and remove old, unidentifiable food.
- Wipe spills and make sure containers are closed.
- Confirm the door closes completely and nothing is preventing its seal.
This is not about making dorm food complicated. It is about giving a compact appliance enough space and attention to do its job. Start with campus rules, use a thermometer, keep food organized, and use federal time-and-temperature guidance if the power fails. Those basics protect your groceries and make a shared dorm room easier to live in.
Sources
- U.S. Department of Agriculture, Food Safety and Inspection Service: Food Safety Basics
- FoodSafety.gov: Food Safety During Power Outage